This walk through will be with the assumption that a Portainer server is already installed, configured, and ready to access. The reason that we use Portainer is because of the ease of updating the applications. If you need help installing Portainer you can check out this post.
Creating Network
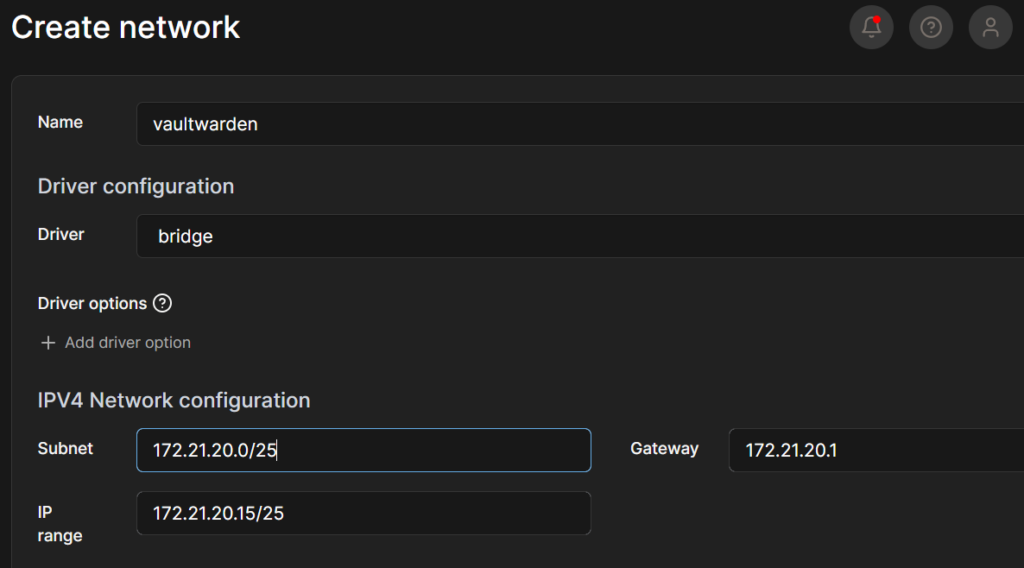
I like to keep all my containers on separate networks, for security reasons, unless we need containers to talk to eachother .
Click on the networks tab from your Portainer Environment. On the top right click Add Network. Add a descriptive name like vaultwarden. Add a network Subnet must include the cidr. Add the Network Gateway and IP Range. I like to add a few IP Addresses just incase you may need more in the future. Click the Create The network button on the bottom.
Creating the Container
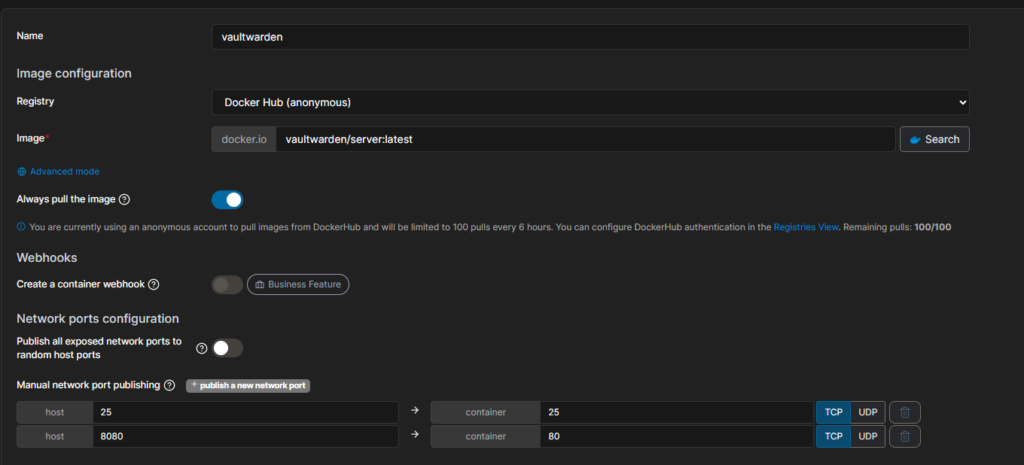
New that we have a network to connect the container to we will need to build the container. Click on Containers from the Environment tabs. Then on the top right click Add Container. Give the container a name “vaultwarden” Under the image add the latest from using vaultwarden/server:latest Click on the publish a new network port and add Host 8080 and Container 80. This is required. On a domain you will also need to add the port of your exchange server if this is internal and you want to send emails. Otherwise you do not need to add other ports.
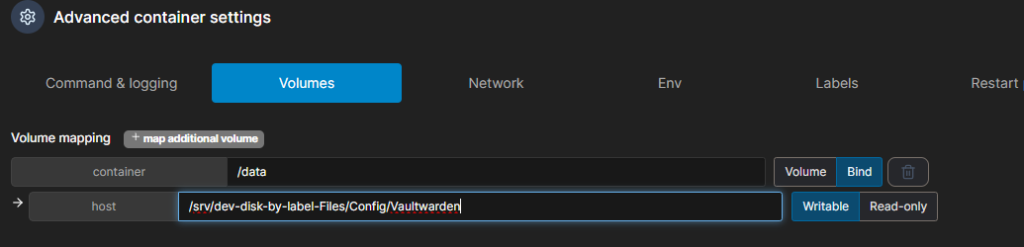
Next on the list is to add your volume. This is where your data base will be stored. If you do not care where you place this it will automatically create its own volume; otherwise, scroll down to the bottom and click on the horizontal tab Volumes. Click – “map additional volume“. Under the container add /data, this will create a folder under your filesystem named data, then under host type your mount point. I use /srv/dev-disk-by-label-Files/Config/Vaultwarden hand have premade my folder under the file system.

New we need to attach this container to the network we built earlier. From the Horizontal menu click on the Network Tab. Select the down arrow under the title Network and select the network you created. You can also Add in the name for the hostname like vaultwarden. the rest of the information will automatically populate when your create the container.
Placing the Environmental variables are important. We need to setup the SMTP for registration of accounts and sending out email. Depending on how your domains exchange is setup, like mine, we do not need a user and password for email coming from a server. Likewise, we do not need to create a domain user for the email. You may need to.
SMTP_HOST=”Enter your Mail Host”
SMTP_FROM=”Enter Eamil address of sender”
SMTP_FROM_NAME=”Enter Name of Sender”
SMTP_SECURITY=”Enter off,tls,ect”
SMTP_PORT=”Enter Port 25 without ssl, 587 with SSL
SMTP_USERNAME=
SMTP_PASSWORD=
SMTP_TIMEOUT=30
DOMAIN=https://bitwarden.domain.com
WEB_VAULT_ENABLED=true
[email protected]
ADMIN_TOKEN=”Enter Password”
We also need to add the Environmental Variable of domain. This will be the web address you use to access the UI and address you add to the app and extension. If you need to you can also add at :PortNumber at the end.
You will need to enable the web vault and Create the Organization Creation Users account. This will be the user that you will need to login with to create the Organization Vault.
Next, create the password for the Admin Site
The rest of this list is for inviting people settings and signups. The Invitation organization name will be what the email receiver sees to know who that are attaching too. Since you can belong to more than one organization, it is smart to make is something descriptive.
The Signup Domains whitelist will be your organization email domain that will be allowed to access the login.
INVITATION_ORG_NAME=”Name of Organization used in Invite“
INVITATIONS_ALLOWED=true
INVITATION_EXPIRATION_HOURS=120
SIGNUPS_ALLOWED=false
SIGNUPS_DOMAINS_WHITELIST=”Email Domain to whitelist “domain.com“
SIGNUPS_VERIFY=true
SIGNUPS_VERIFY_RESEND_TIME=3600
SIGNUPS_VERIFY_RESEND_LIMIT=6
ROCKET_TLS={certs=”/data/ssl/certificate.crt”,key=”/data/ssl/private.key”}
If you are not using a Reversproxy or keeping everything internal. You may need to use a internal CA for Certificates. You can use the Rocket_TLS. Place the paths of where your Certificates are held. Then place your certs in the locaion.
Attaching your .env file
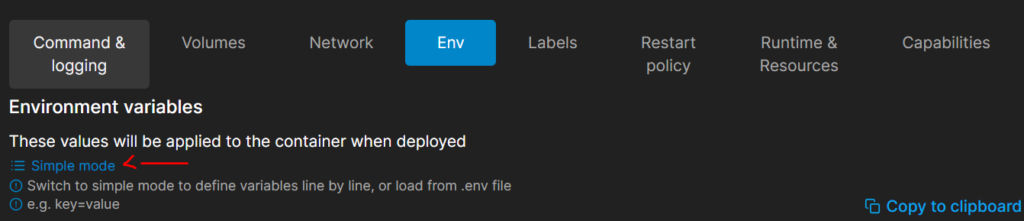
You can get the vaultwarden Configuration file here ConfigFile This contains the previous discussed values. Click on the Env tab and click the Advanced mode. The configuration file has some more setting in it but also tell you a description of what they do.
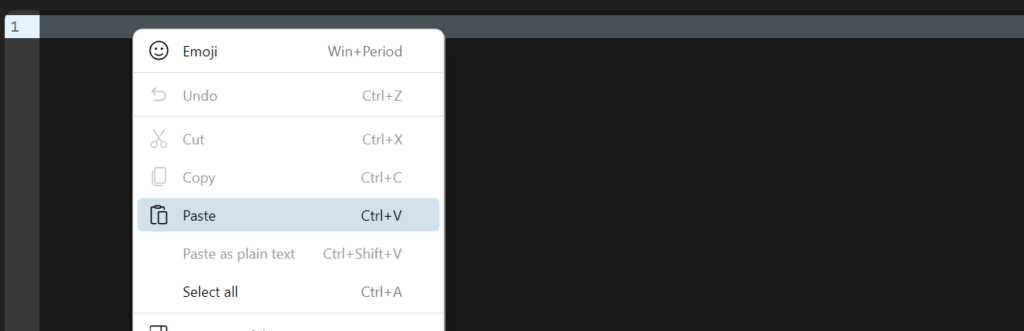
Once you have made all your configuration changes. You are able to paste in your configureations.
Setting Reset Policy
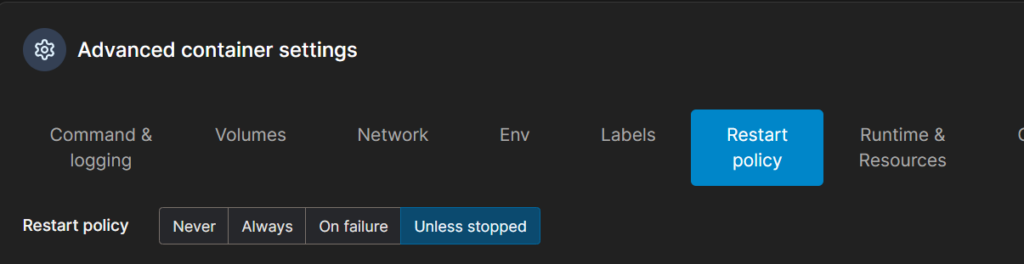
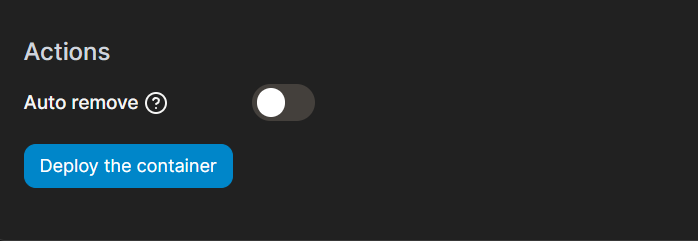
Set your Reset Policy. I always use Unless stopped. Unless I have a reason to do something else.
All that is left to do is to deploy the container. Click Deploy the Container.